Fava beans, or broad beans, are one of the oldest know cultivated plants carbon dated to over 10,000 years ago according to research published in an online paper in the journal of Scientific Reports. They are a major crop in many countries, but not very popular in the United States – probably because it takes so much time to prepare them (LOL)!? But, believe me, the time and effort are worth it after you have tasted these delicate, buttery, nutty flavored beans.
The plant is like a pea plant. The pods can be harvested young and eaten whole or let them grow until they are big and bumpy, and then eat the bean inside the pod. The pod can be left on the plant until the both the pod and beans are dry.
Fava beans can be eaten raw, boiled, steamed, stewed, mashed, sautéed, fried, or roasted.
Freezing is a good way to preserve fava beans. Here is a step-by-step guide to harvesting and freezing fava beans.
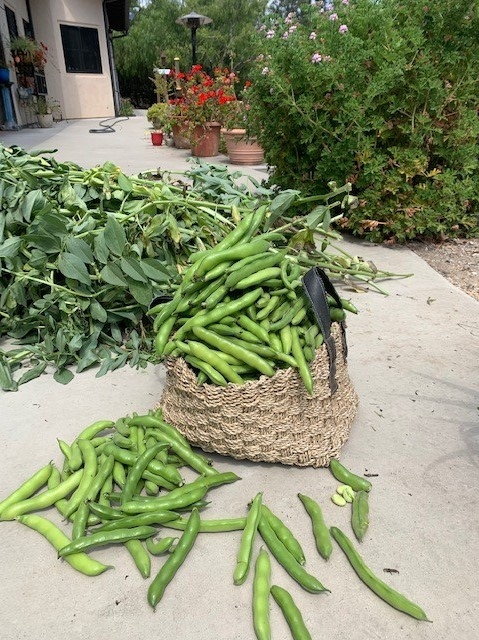
Step 1. Harvest the beans. Look for large green pods that feel like there are little balls inside.
Photo credit: Lynn Pastusak
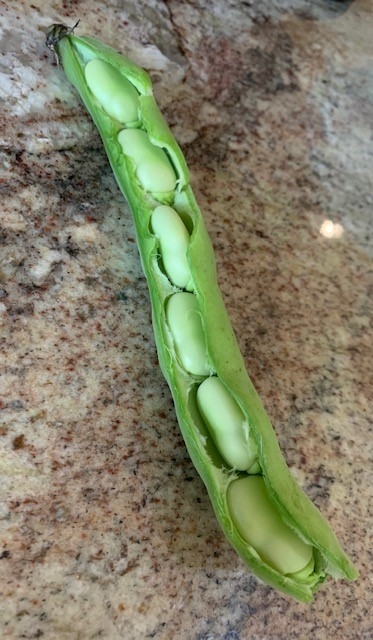
Step 2. Remove the beans from the pod.
Photo credit: Lynn Pastusak
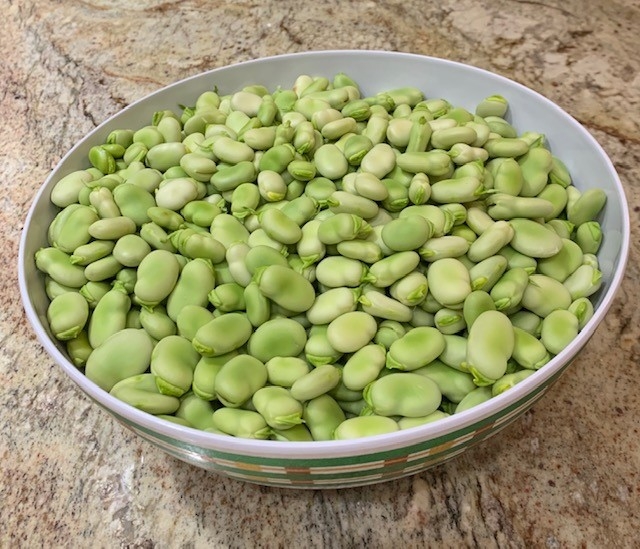
After the beans are removed from the pods, you will have a beautiful bowl of shelled beans.
Photo credit: Lynn Pastusak
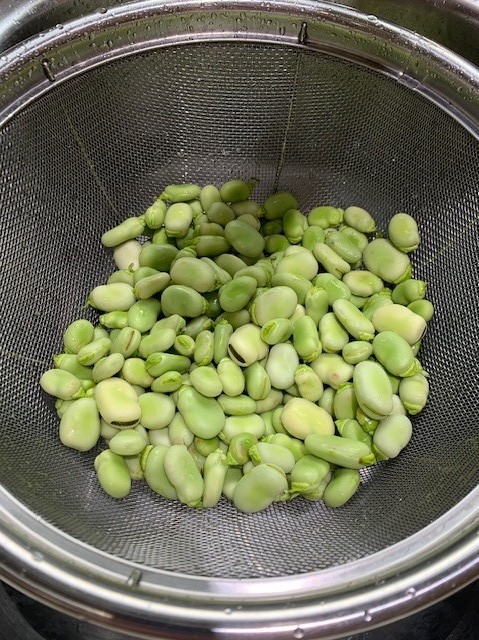
Step 3. Put the beans in a colander and rinse with cold running water.
Photo credit: Lynn Pastusak
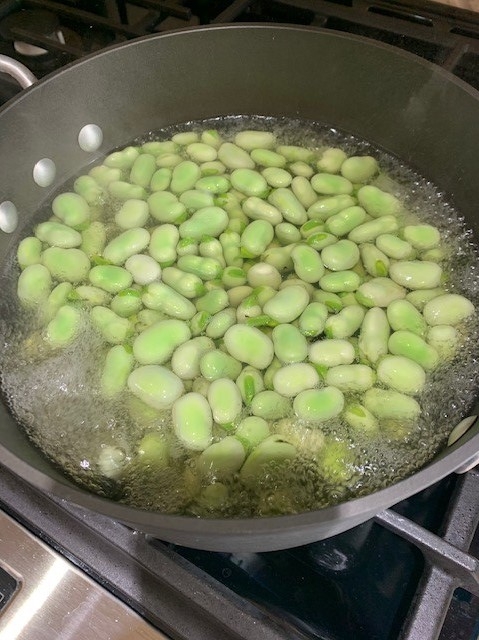
Step 4. Now it's time to cook the beans and get them ready to freeze. For best quality, it's recommended to fully cook the beans. (There is no approved method for blanching fava beans before freezing.) Bring the water to a boil. Add some beans and bring back to a boil. You want to cook the beans in small batches to prevent over cooking. Cook each batch for about 4 minutes.
Photo credit: Lynn Pastusak
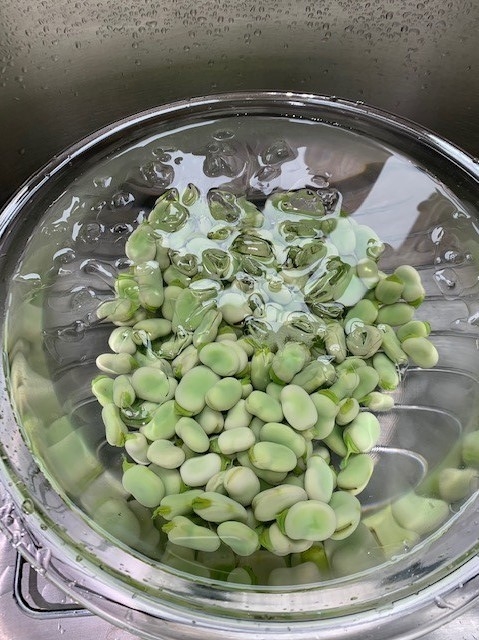
Step 5. Remove the beans from the boiling water with a slotted spoon and place in a bowl of ice water. Let the beans sit in the icy water for about 4 minutes to cool completely.
Photo credit: Lynn Pastusak
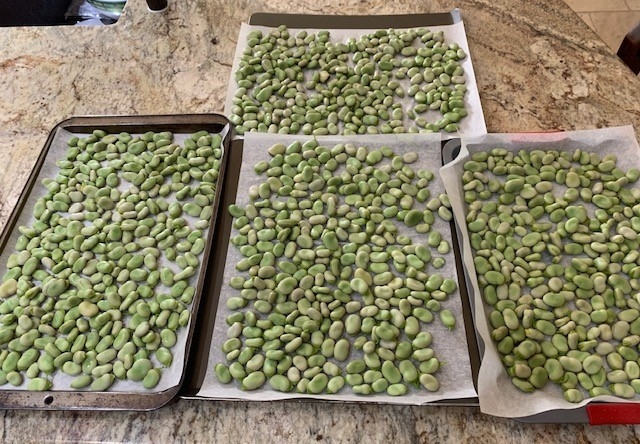
Step 6. Place the beans on a clean towel and dry. Put the dry beans in a single layer on a cookie sheet lined with parchment paper, nonstick foil, or waxed paper to prevent sticking. This method of freezing is called Individually Quick Frozen (IQF). It's a great way to freeze small sized foods and prevents them from freezing in a “clump”. Place the tray with the beans in the freezer for about 2 hours.
Speaking of “clump” – don't make the same mistake I did. I removed the outer layer of skin before layering the beans on the cookie sheet, froze them, placed them in a bag in the freezer and ended up with a wad of fava beans stuck together! Apparently, if the skin is removed, the bean remains moist and they will freeze together. I find leaving the skin on, also protects the bean from freezer burn and they have a fresher texture after thawing. Read more about when and how to remove the outer skin in Step 9.
Photo credit: Lynn Pastusak
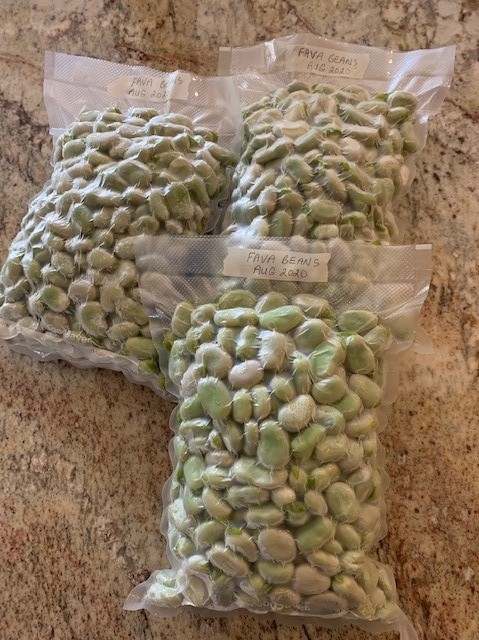
Step 7. When the beans are frozen, place them in a freezer safe bag or container. If you have a vacuum sealer, now is a good time to use it. Label the container with the name and date they were frozen.
Photo credit: Lynn Pastusak
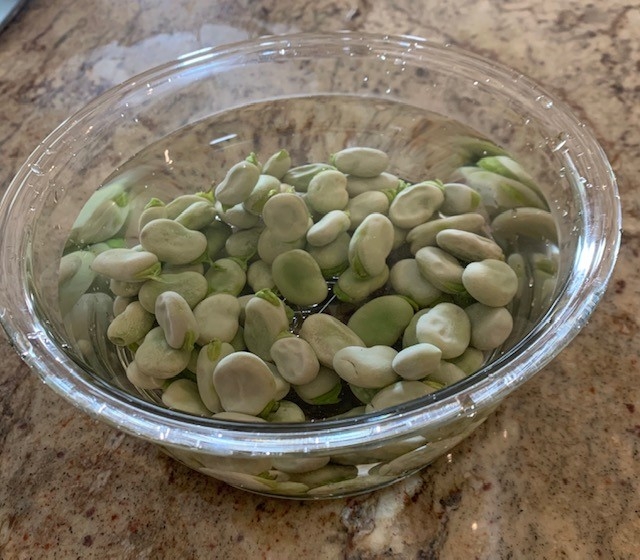
Step 8. The beans are frozen. Now what? When you are ready to eat some, remove the amount you want from the container. Place the beans in a bowl of lukewarm water.
Photo credit: Lynn Pastusak
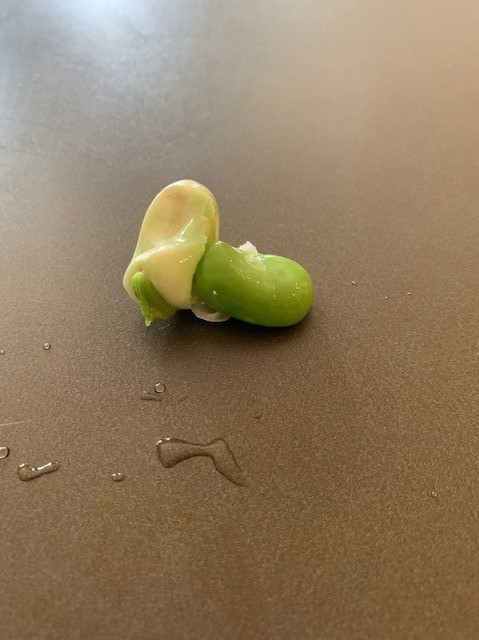
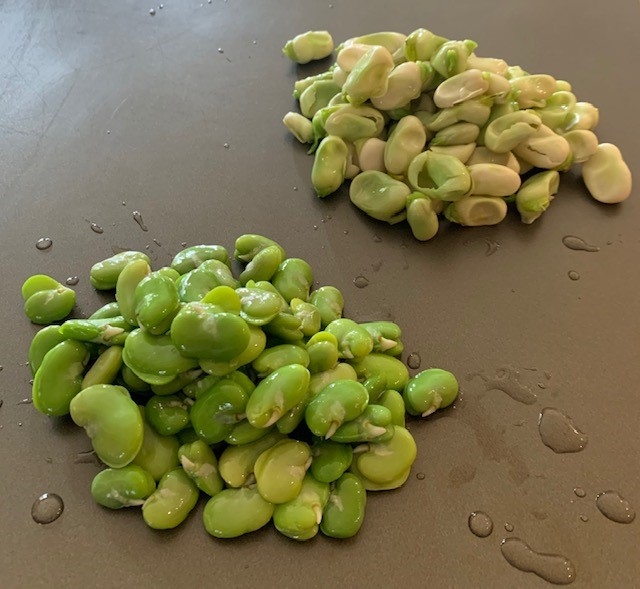
Step 9. There is a layer of skin that needs to be removed. Yes, that is correct…another layer to be removed before you get to that yummy bean! Remember, I mentioned earlier not to remove the layer of skin until now? Put a small hole in the skin with your finger and pop the bean out. It's quick and easy!
Photo credit: Lynn Pastusak
Now you have a nice bunch of fava beans that are ready to eat.
Photo credit: Lynn Pastusak
Fava beans can be eaten cold (add them to a salad or munch on them as a snack). Or, they can be heated as a side dish, added into stew, fried rice, or used in a recipe in place of peas.
Here's my favorite recipe which is quick and easy. It takes less than five (5) minutes to cook.
Sautéed Fava Beans
1 c. fava beans, thawed and shelled (skin removed)
1 tbsp. olive oil
1 clove garlic, chopped
Salt and pepper, to taste
Fresh basil leaves, coarsely chopped
Heat olive oil in a pan. Add garlic and sauté just to soften, about a minute. Add beans, salt, and pepper. Continue sautéing until mixture is almost heated through. Top with basil, stir, and continue sautéing until basil is wilted and beans are completed heated.
Photo credit: Lynn Pastusak
This is a yummy side dish with lemon rice and crab cakes.
Editor - Master Food Preserver Program Coordinator
