Have you thought about making sauerkraut? Do you already make sauerkraut? Or, have you made sauerkraut, and something went terribly wrong and you don't want to make it again? These are questions many of us have asked and continue to ask ourselves. By following a few key steps to keep your workspace orderly and very clean, you too can be successful in your production of this crunchy tangy goodness in just a few weeks.
You can use green or red cabbage. Fermenting red cabbage may result in a duller color but it will taste delicious all the same. So, let's get started…
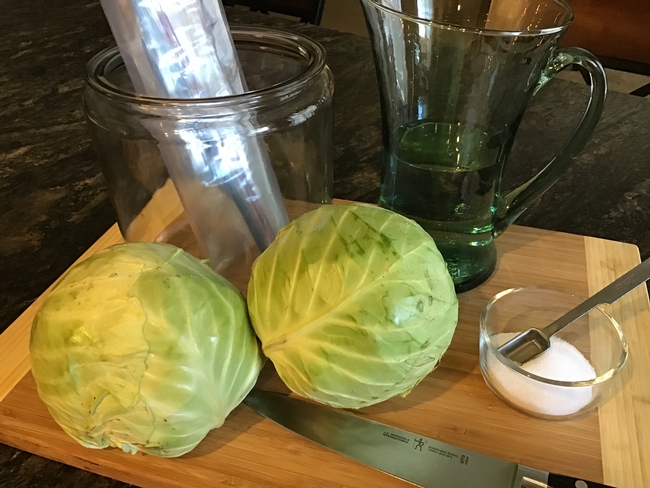
Before you begin, wash your hands with soap and water for 20 seconds. Make sure your equipment, utensils, and countertops are clean and sanitized. These cleaning steps help prevent unwanted visitors invading your sauerkraut! Next, you need to gather your ingredients and supplies. Your cabbage should be fresh, free of bruises, mold, or any rot. Use a pure salt such as canning salt without additives or other impurities, and fresh drinkable room temperature water. Rinse your cabbage using cool tap water. Do not use any soap, vegetable washes, or bleach to clean your cabbage! This will interfere with the lovely fermentation you will be encouraging to happen, not to mention it might make you SICK!!!
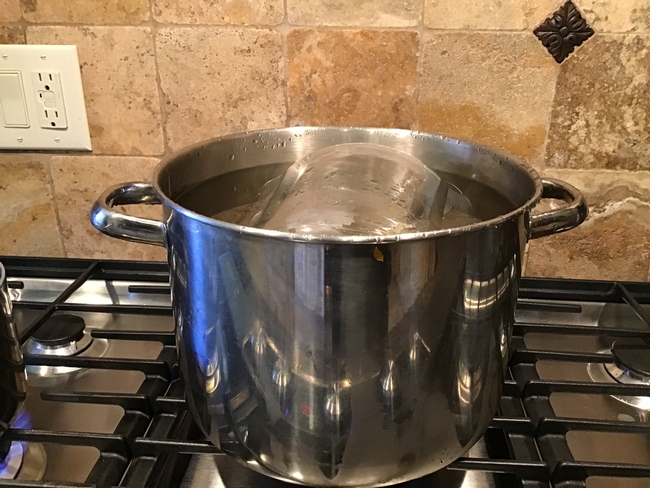
You should also sterilize your fermentation crock or jar to reduce the risk of any unwanted microbes causing your sauerkraut to become contaminated.
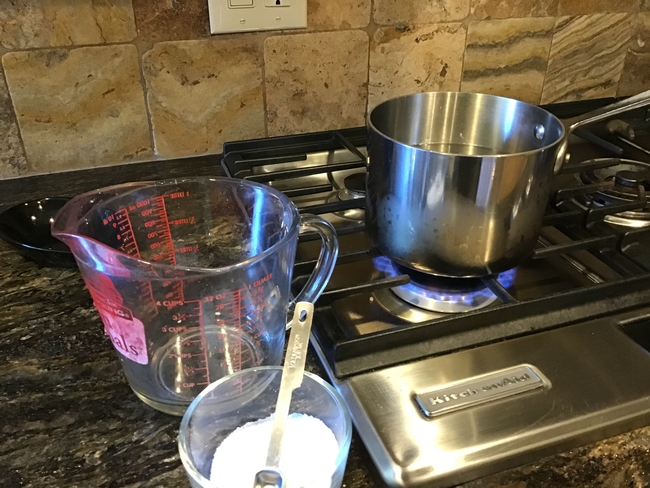
Just in case you can't extract enough juice from your cabbage, it's good to have some brine made before you begin and cooled to room temperature just in case you need more liquid to cover the cabbage. (Recipe for the extra brine will be included at the end of this post.) It is important to use the exact amount of salt called for in your recipe. Cutting back on the salt will inhibit the balance of microbes you are encouraging to flourish and could cause unwanted and dangerous bacteria to grow instead!
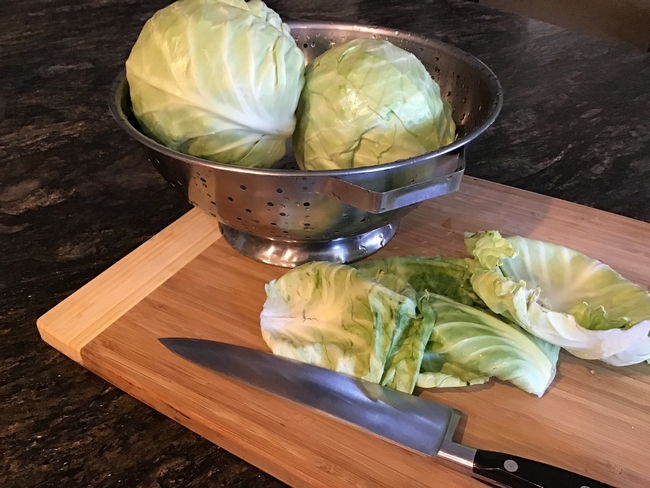
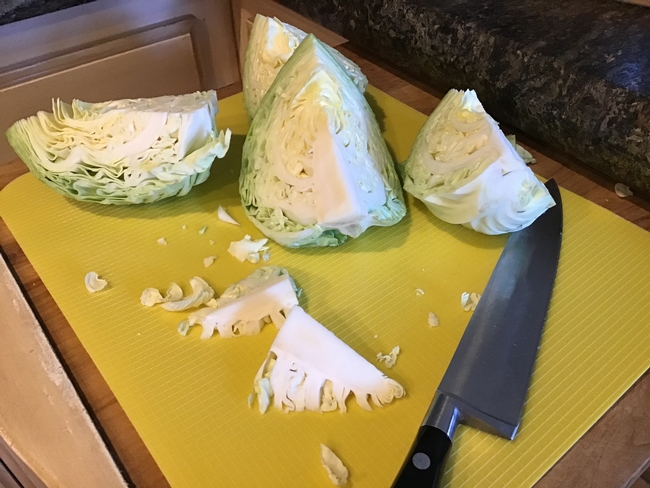
After you have washed your cabbage heads under running water and allowed to drain, you will need to remove the tough outer leaves. Depending on your cabbage, it may just be a couple of leaves per head.
Then take the core out of the cabbage. I find it easiest to cut my cabbage head into quarters and then slice down from the top to the base of the core. Do this for each head of cabbage you are planning to use for your sauerkraut.
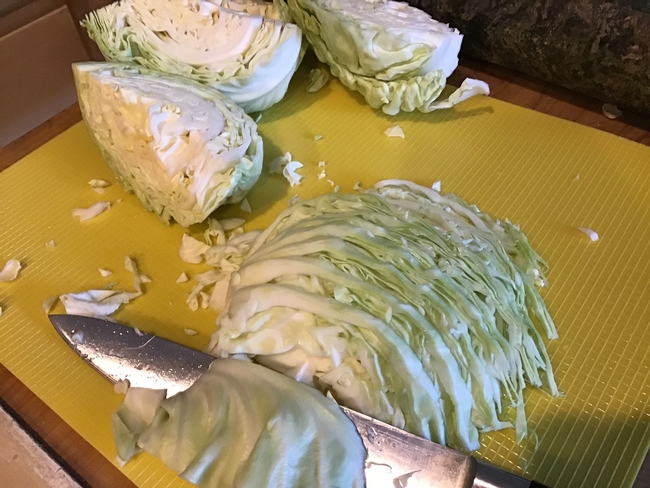
Slice the quartered heads about 1/8 to 1/4 inch thick. You want the slices to be thin enough to crush as you massage them with the added salt to begin extracting the juice from you cabbage. I use a knife for this job, but you could use a mandolin or large capacity food processor instead.
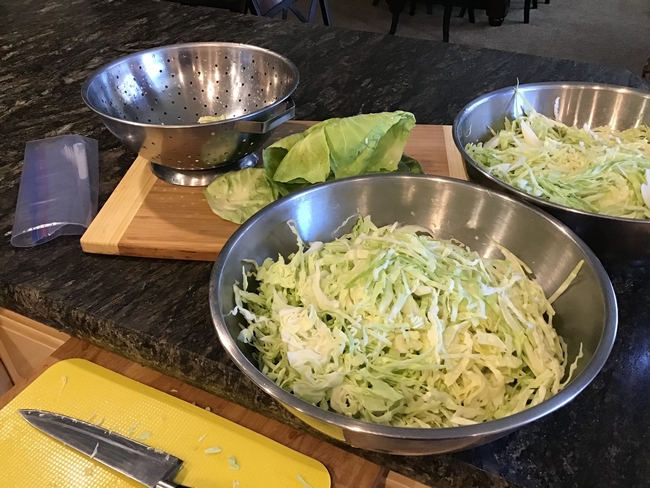
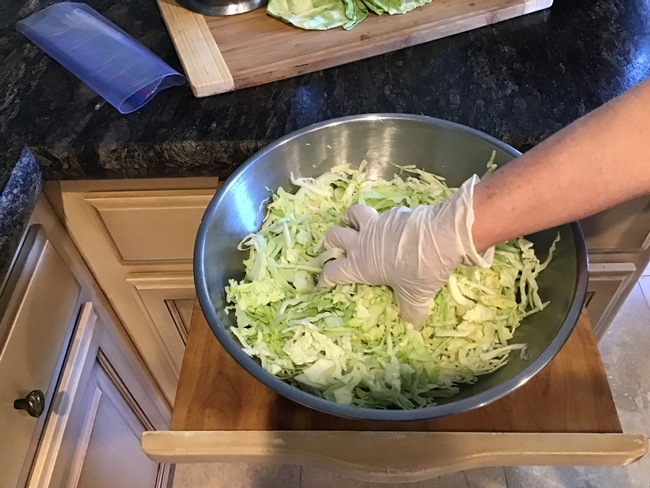
Place your cabbage into a large stainless-steel bowl.
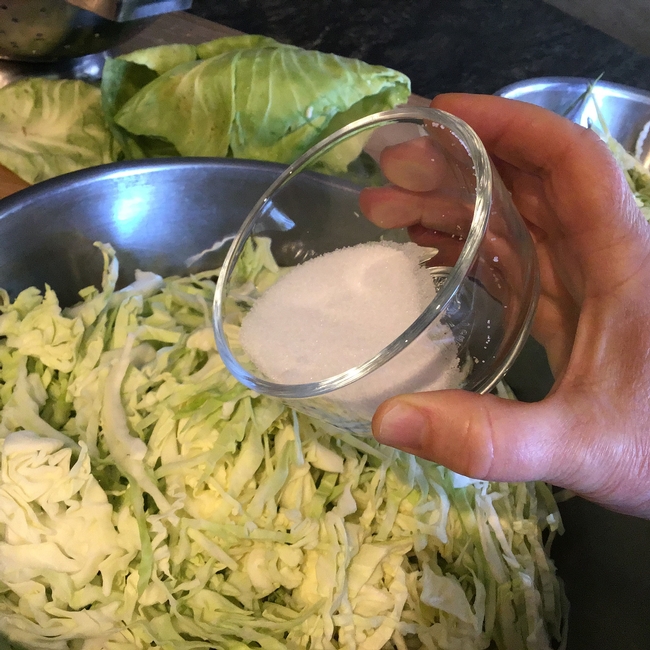
Add the exact amount of salt specified in the recipe. Sprinkle it all over the top of the sliced cabbage.
Massage the salt into the cabbage crushing the slices with your hands while mixing. This step is extracting the juice from the cabbage and thoroughly mixing the salt throughout.
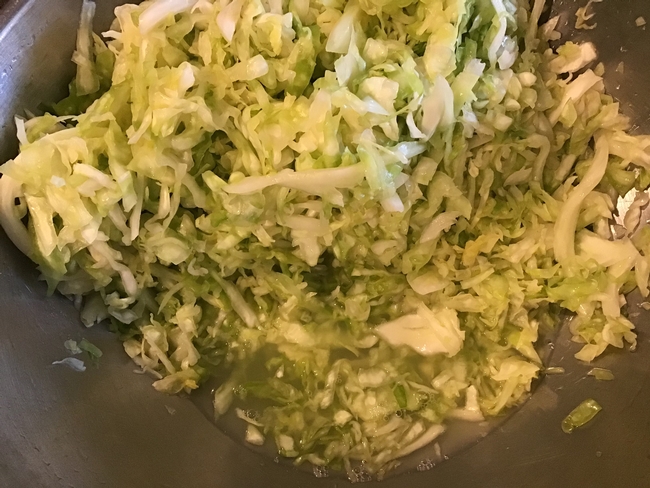
You can see how the briny cabbage juice is beginning to flow after massaging for several minutes.
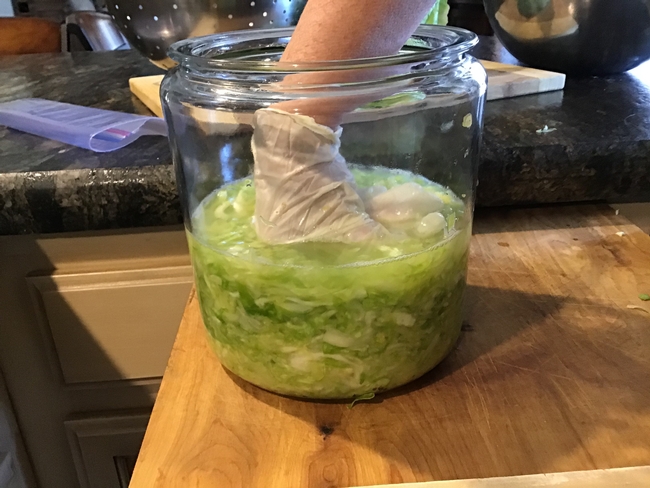
Once you feel like you have massaged enough liquid from the cabbage, you can begin to pack your crock or container. Use any food safe storage container that will adequately hold the amount of sauerkraut you want to make and is deep enough to allow at least 4-5 inches from the rim of the container. A one-gallon container will handle 5 pounds of prepared cabbage adequately.
Continue packing the cabbage into your container pushing down to extrude the juice. Once you have finished packing the container, you should have at least 1-2 inches of brine covering your cabbage. If there is not enough liquid, add some of the prepared brine you made ahead to your container until you have adequate coverage. It is critical your cabbage is fully submerged under your brine. This will help prevent spoilage from mold and other microbes from invading your product.
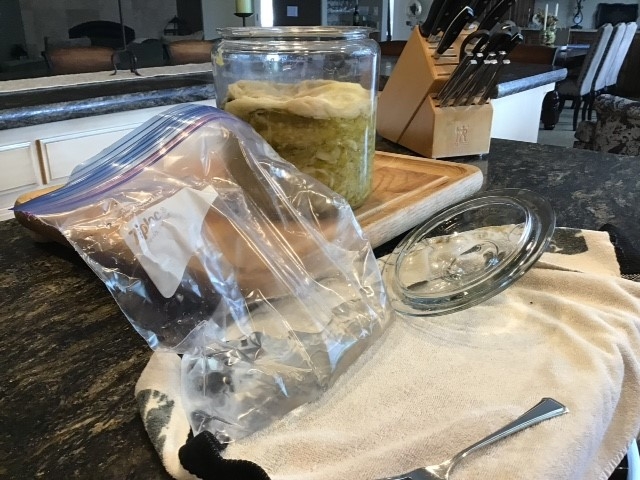
Use a plate to keep the cabbage submerged. I don't have a plate that fits my crock, so I like to use a piece of sterilized cheesecloth to help keep my cabbage in place and prevent “floaties”. You can use a double layer of cheesecloth that you've trimmed to allow for “tucking in” around the edges of your cabbage.
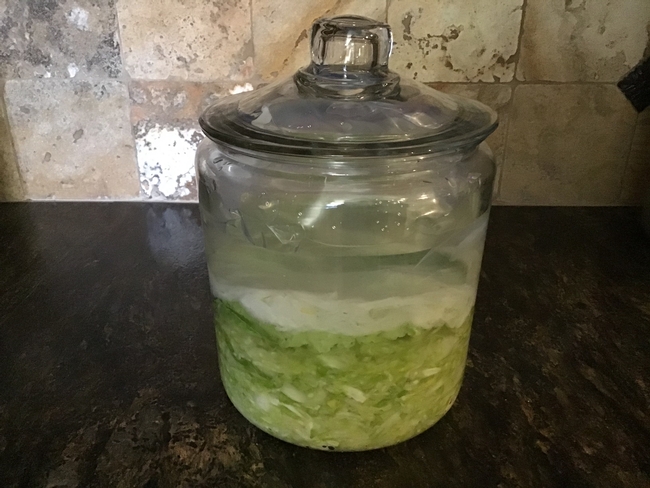
Next you need to add a weight to keep the cabbage submerged under the brine. I use a food grade plastic bag filled with brine that covers the top of my cabbage to keep everything in place. It is important to fill the bag with brine just in case a leak occurs. You don't want freshwater seeping into your crock diluting your brine making it unsafe. You may also use a brine filled mason jar (size depends on your crock) with a lid used as a weight. Or use special crock weights designed specifically for fermentation. Cover your container with a loose-fitting lid or clean dish towel to keep out unwanted pests and debris from falling into your container.
Set in a dark space to ferment. Time to ferment may take as few as a couple of weeks or up to a month or more. The time depends on the temperature of the space where it is kept (70-75 degrees is ideal) and the tartness you prefer.
When you are happy with tartness of your sauerkraut (taste it every few days) if using crock weights or jars, remove the weights and the cheesecloth. If you weighed the cabbage down using a brine-filled bag, do not disturb the crock until normal fermentation is complete (bubbling stops). It is now ready for the refrigerator, or you may process it using a boiling water canner to make shelf stable.
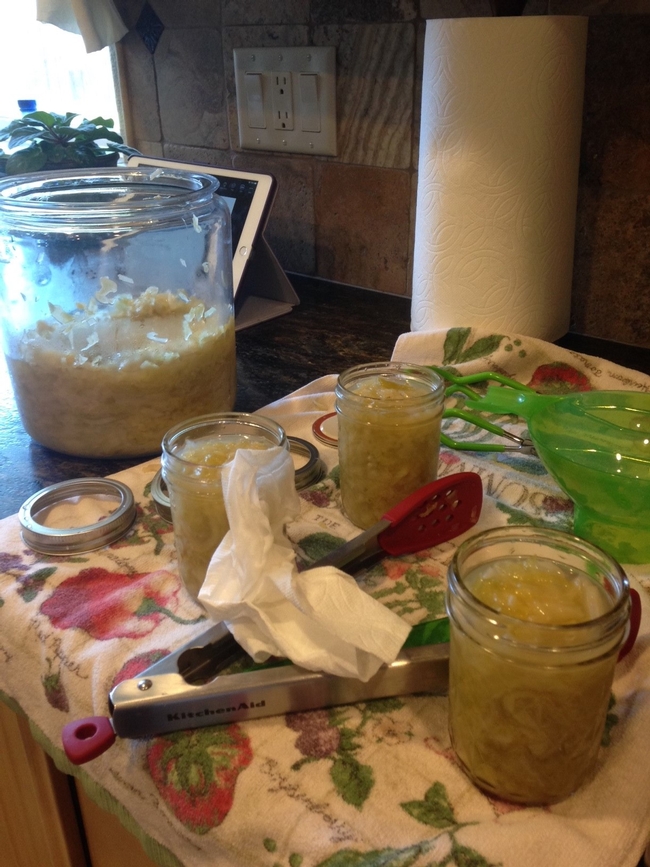
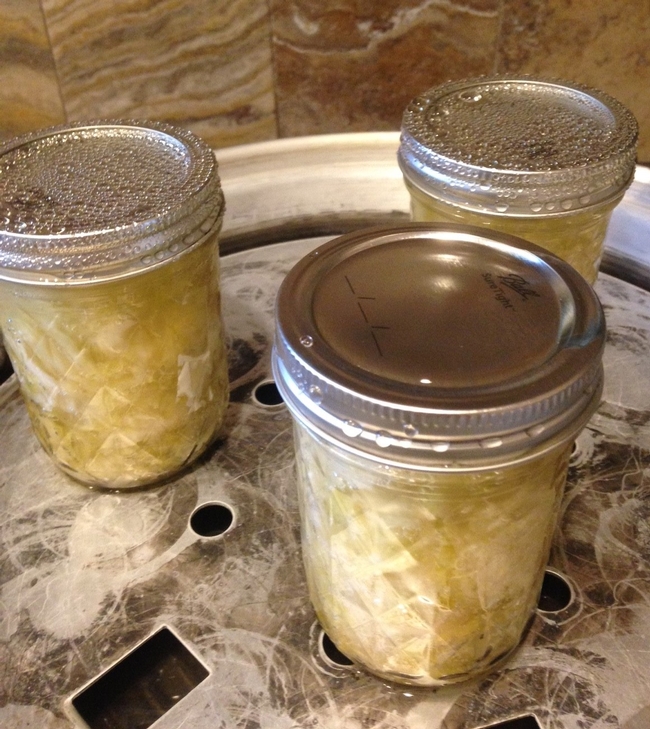
I chose to can this batch. Once canned using a tested recipe (see end of blog post), it may be kept on your pantry shelf up to 1 year. You may keep it refrigerated for several months if it is not processed. If refrigerating is your choice, I would suggest transferring the sauerkraut to several smaller jars or containers from the original fermentation container. This will help reduce the potential for cross contamination and spoilage as you use it.
I processed my sauerkraut using my steam canner, but you may also use a boiling water canner.
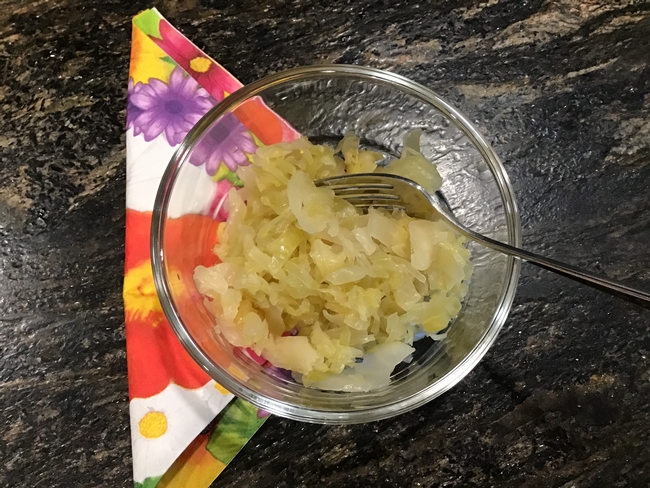
Sauerkraut has just a couple of ingredients, and it is a good first recipe to try when learning how to ferment foods. It's a fun project and the taste is nothing like what you purchase commercially! Many folks who say they don't like sauerkraut change their minds when they try a batch made at home. Pair this delicious tart and salty food with your favorite sausage, use it in soups, or just eat it alone!
Here is the recipe for a 5lb. batch of sauerkraut:
Yield: about 7 cups
5 lbs. cabbage
3 Tbsp. canning or pickling salt
Procedure: Discard outer leaves. Rinse heads under cold running water and drain. Cut heads in quarters and remove cores. Shred or slice to a thickness of a quarter. Put cabbage in a suitable fermentation container and add the salt. Mix thoroughly, using clean hands. Pack firmly until salt draws juices from cabbage. The container should be deep enough so that its rim is at least 4 or 5 inches above the cabbage. If juice does not cover cabbage, add boiled and cooled brine (1 ½ tablespoons of salt per quart of water). Add plate (or cheesecloth) and weights, cover container with a clean dish towel.
Sauerkraut fermentation can take place under variable temperature and time combinations. For obtaining a good quality sauerkraut at home, the USDA recommendation is to store at 70º to 75ºF while fermenting. At temperatures between 70º and 75ºF, kraut will be fully fermented in about 3 to 4 weeks; at 60º to 65ºF, fermentation may take 5 to 6 weeks. At temperatures lower than 60ºF, kraut may not ferment. Above 75ºF, kraut may become soft.
If you weigh the cabbage down with a brine-filled bag, do not disturb the crock until normal fermentation is completed (when bubbling ceases). If you use jars as weight, you will have to check the kraut 2 to 3 times each week and remove scum if it forms. Fully fermented kraut may be kept tightly covered in the refrigerator for several months or it may be canned as follows:
Hot pack – Bring kraut and liquid slowly to a boil in a large kettle, stirring frequently. Remove from heat and fill jars rather firmly with kraut and juices, leaving 1/2-inch headspace.
Raw pack – Fill jars firmly with kraut and cover with juices, leaving 1/2-inch headspace.
Adjust lids and process according to the recommendations in Table 1.
|
Table 1. Recommended process time for Sauerkraut in a boiling-water canner. |
|||||
|
|
Process Time at Altitudes of |
||||
|
Style of Pack |
Jar Size |
0 - 1,000 ft |
1,001 - 3,000 ft |
3,001 - 6,000 ft |
Above 6,000 ft |
|
Hot |
Pints |
10 min |
15 |
15 |
20 |
|
Quarts |
15 |
20 |
20 |
25 |
|
|
Raw |
Pints |
20 |
25 |
30 |
35 |
|
Quarts |
25 |
30 |
35 |
40 |
|
This recipe and process was adapted from the "Complete Guide to Home Canning," Agriculture Information Bulletin No. 539, USDA, revised 2015.
Author - Master Food Preserver Program Coordinator
